Overview
This article provides the steps required for you to set up the Schedule on the Exinda WebUI, this allows you to define policies based on different schedules.
Prerequisites
- Admin access to the Exinda WebUI
Solution
- Log in to your Exinda WebUI
- Navigate to Configuration > Objects > Schedules
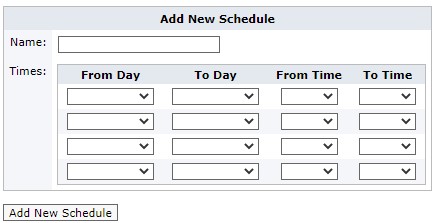
- Fill in the information that appears under the Add New Schedule screen
- Name: The schedule name, this name will come up when you create a policy
- Then, you need to define what time frames are included under this schedule
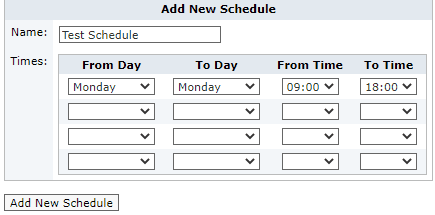
- Once you have filled in the information, you need to click on the Add New Schedule button
(On this example Test Schedule is active every Monday from 9:00 to 18:00)
In addition, you can also click on the Edit button of an already created schedule, to modify it
Note: Once you have modified the schedule, you need to click on the Apply changes button
- A yellow box will let you know that you have Unsaved Changes at the top side of the screen, you need to click on it and select the Save configuration changes option
- Restart the Optimizer


Note: When the time in each schedule is active, the corresponding policy will be active, switching over automatically.
Testing
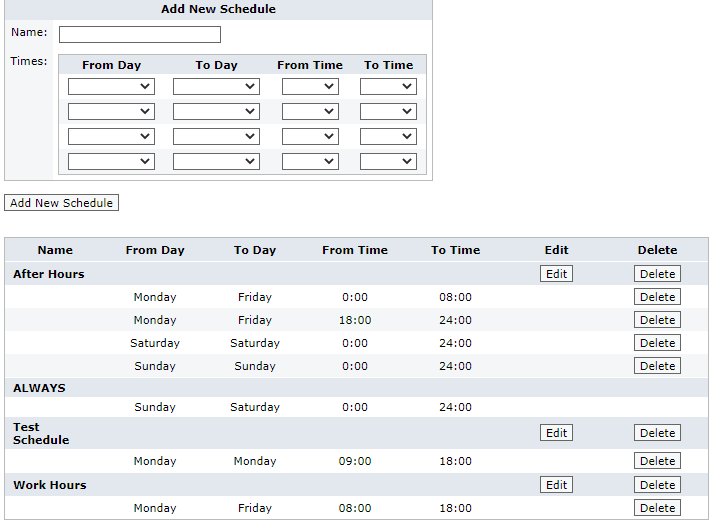
You will be able to see the policies that you've created/modified in the Configuration > Objects > Schedules screen

Priyanka Bhotika
Comments